Recap: Graphic Novel Thumbs
Highlights from working on my 247-page graphic novel thumbs (thumbnails, aka storyboards) for my middle-grade debut, Cramming.
Highlights:
First draft duration: about 2-2.5 months
Revisions/edits: about 3 weeks
Number of revisions: 1
Total page count: 237 > 253 > 247 (final)
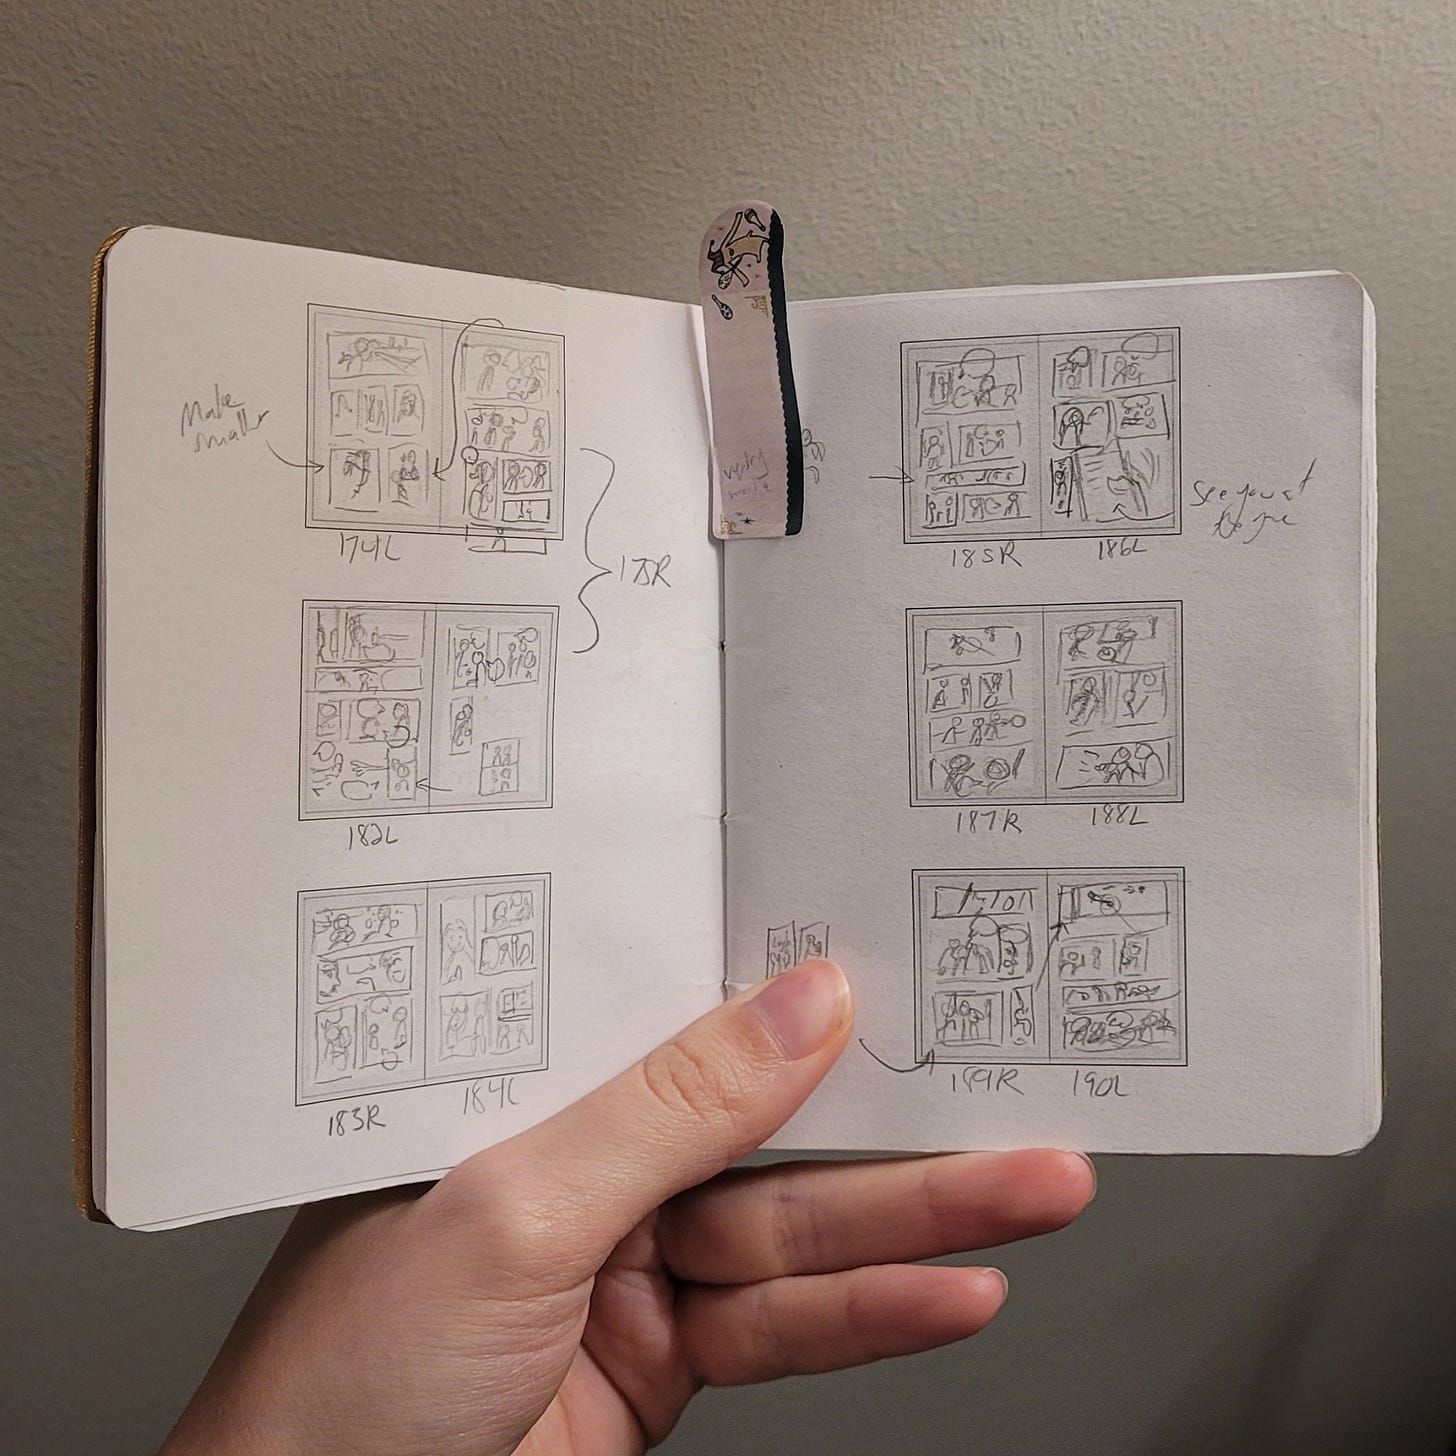
Tools: Clip Studio Paint Pro Ex on iPad (final thumbs), InDesign (lettering), mini comic spread sketchbook (preliminary thumbs)
What are Thumbs?
Thumbs, also known as storyboards, is short for thumbnails and refers to the rough sketches or “visual blueprints” of your graphic novel. They usually come before inks (the final line art of your graphic novel) or pencils (an optional detailed version of thumbs). I usually make more detailed thumbs so jump straight to inks after.
Getting Started: The Planning Stage
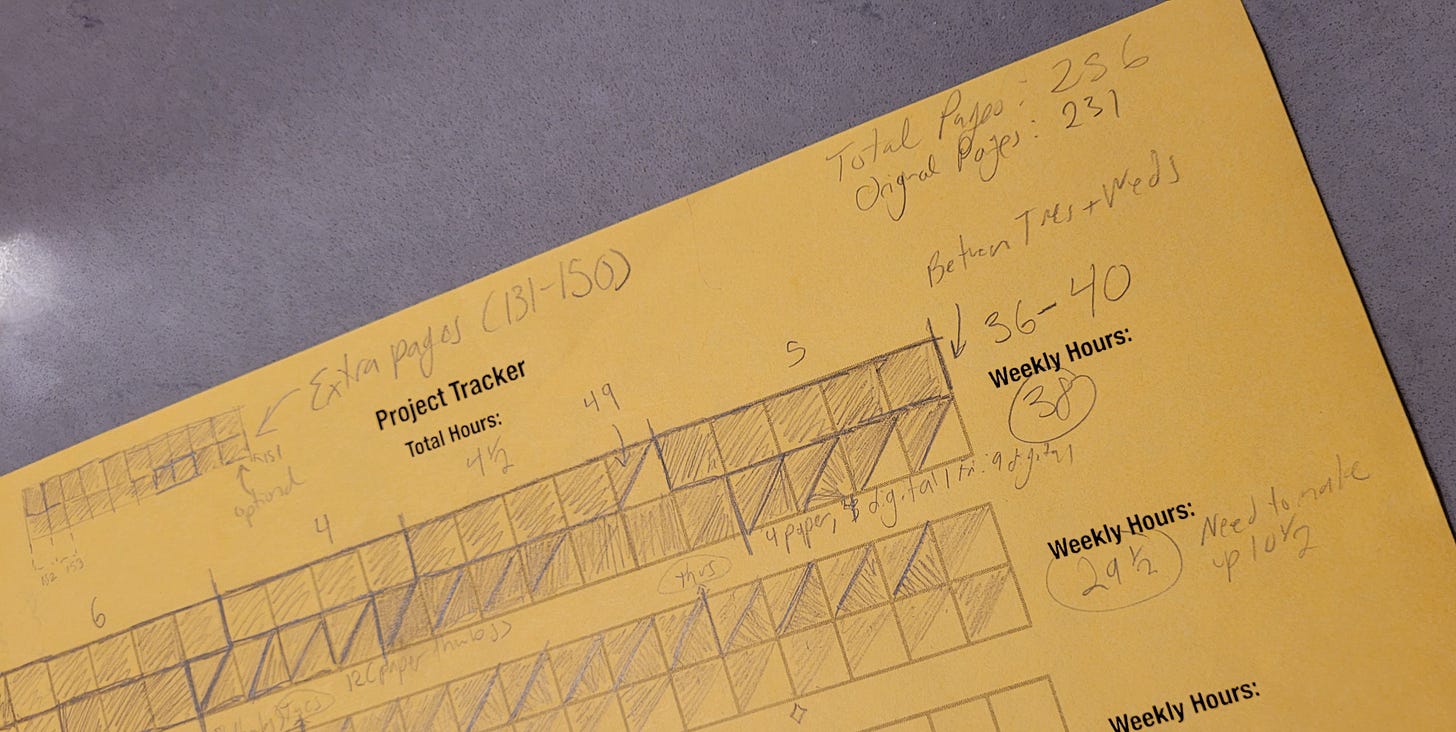
I created a progress tracker for myself calculated by how many hours I could average in a week to meet my due date. There were times I needed rest, so I made sure to build buffer. Creating a plan was imperative so I could stay on track without creating too much work for myself leading up to the final days.
I ended up only using this project tracker at the beginning of my thumbs for weekly goals. Further along, I relied on daily goals to keep me on track.
Getting the Basics Down
Before getting started, I asked my publisher if they had a page or spread template I could use as a base for my book. To my delight, they had a PDF. My next challenge was converting that PDF guideline to a Clip Studio Paint (CSP) template so I could easily see all pages formatted correctly.
Clip Studio Paint?
Clip Studio Paint is a common program in comic creation. It was initially released in Japan in 2001 and gradually became the standard for making manga digitally. Over the years, it’s become one of the top programs in graphic novel creation because it offers a lot of comic tools like speech bubbles, panel creation, and more.
CSP: File Setup Conundrum
I wanted a CSP template because it would make things like snapping the panel tool to the edges easier, so ended up making one for myself. Setting up the CSP template took a long time to do, given that CSP doesn’t allow you to work at thousandths of a decimal for a unit. That meant the outside trim of .375 and .5625 inches from the bottom I was given wouldn’t work. After talking to my publisher’s art director, we agreed to round to .38 and .56 inches.
Another thing that was important to me was making sure my file setup was by spreads (2 pages), not single pages. This enhanced the panel flow, helped me visualize the page turns, and avoided repetitive layouts. The only issue with this method was when I had to delete pages, this meant I had to adjust the pages that followed to make sure they maintained their proper page turns. Thankfully, this rarely happened, and was worth the benefit of the spread layout.
Tech tip for CSP iPad users!
Depending on your iPad, you might experience lag when using a CSP project file. I use an iPad Pro 3rd Generation at 512 GB and started experiencing lag around the 60th page. To resolve this, I had 5 projects files with about 50 pages in each.
Paneling
This was something that changed a lot throughout the process. At first, I would jump straight to paneling in CSP, but quickly realized that I would get bogged down by details due to the “Zoom” which would result in less dynamic and clear layouts. I also pivoted from the vector brush to the rasterized brush because I had more freedom with the eraser tool due to my sketchy thumbs style.
It wasn’t until I started drawing on paper templates that my panels became more dynamic. It allowed me to quickly explore layouts at a small scale without getting distracted by details. This was further enhanced when I made a paneled sketchbook which saved time on redrawing the pages/guidelines while allowing me the portability to easily carry it in my pocket on a business trip to Japan.
Once I finished the paper thumbs, I copied them to my iPad and added details for scene clarity. At first, I would hand draw the panels in CSP, but quickly pivoted to a custom line tool, then the panel tool. The panel tool allowed me small adjustments that the other tools didn’t such as quick cropping and evenly dividing panels, which saved a lot of time. Moving forward, I will only be using the panel tool for thumbs.
Color Coding
This is a technique I learned in animation. Once I finished drawing all of my thumbs, I created a “Quick Action” that automatically added a “Lighten” top layer to my page so I could change the color of my characters.
I also sent my editor a key of what each color represented which you can find below:
Relying on color isn’t always ideal, so alternatively you could use labels for your characters. Some cartoonists will use letters (“A”, “B”, etc.) to label their characters or descriptive labels such as “Thief”. This is especially helpful for someone editing that might be color blind.
Adding the Text
For this step, I compiled the images and text within InDesign, an industry standard for book formatting. My art designer provided me an InDesign template which I used as a base and tweaked to fit my needs. Stay tuned for a future blog post on InDesign lettering!
Although InDesign is industry-standard, it’s not always a requirement. I have many friends that did all of their lettering in Photoshop or CSP, and others who had publishers that hired letterers for them. It’s always good to check in with your editor on what they would prefer.
Exporting the Full Book
Once I had completed adding the text in, I tried to save the document as a PDF file however, InDesign wouldn’t let me. After several failed attempts, I discovered the cause was having too many applications open at once. Thankfully, closing other apps such as Photoshop and SketchUp fixed the issue. PDF successfully exported and it was off to my editor for edits!
Reflections & Tips!
If I were to go back in time, here are some tips I would tell myself starting out:
Figure out how many pages for your thumbs you need. For example: 256 book pages does not mean 256 pages of thumbs. For me, it was 247 pages of thumbs with 6 pages of front matter and 3 pages of back matter.
Determine your page layout and text specs (font, size, etc.) before you begin. Sometimes, your editor might have a template, so make sure to ask them.
The manuscript is a guideline, not a hard rule. If you have a better idea for a layout that differs from the manuscript, feel free to explore it, just make sure you don’t go over your page count without getting editor approval.
Consider making a book map (a visual outline of your entire graphic novel). This is especially helpful when deciding which pages to remove or add.
More pages doesn’t necessarily mean more work. In my experience, it took more time to figure out layouts for 8+ panels on one page than to spread the 8+ panels across two pages.
CSP (as of 2024) didn’t have a lot of lettering features which resulted in issues with the size of the text when using the same settings in InDesign. Moving forward, I’d letter first in InDesign, import into CSP, and use CSP’s speech bubble tool instead of hand-drawing the bubbles myself in the thumbs-phase.
Be careful of making your thumbs too simple. I wish I had been more deliberate about things like height during this phase to save time on inks. Also, it’s totally ok to add notes next to your illustrations for clarity! For example, I drew an arrow next to a dog to clarify it was a Pomeranian.


Great article. Thank you.
I appreciate this breakdown of your thumbs process. I am just about to start thumbs for my first young graphic novel and I can feel myself stalling-not quite sure how to tackle them. Then, this great little post came along. Thank you!